How to Fix Windows 10 Not Detecting Logitech Unifying Receiver
Jul. 28, 2024 / Updated by Seraphina to Windows Driver Solutions
When using a Logitech Unifying Receiver on Windows 10, you might sometimes find that the device isn't detected, which can stop your Logitech peripherals from working. This guide offers several solutions to fix the issue and get your devices working again.
Solution 1: Check USB Ports
Try plugging the receiver into different USB ports to ensure the port is functioning correctly.
Use a USB 2.0 port rather than a USB 3.0 port, as compatibility issues sometimes cause detection failures.
Solution 2: Update Mouse and USB Drivers
Outdated, corrupted, or incompatible drivers may cause the Logitech Unifying Receiver to not be detected. It is recommended to use Driver Talent to automatically detect and update drivers, saving time and avoiding the risk of downloading or installing incorrect drivers.
Click the download button to get the latest version of Driver Talent. After installation, open the software and click "Scan".
After the scan is complete, the list of missing or outdated drivers will be displayed. Find the mouse and USB drivers in the list and click the "Download" button.
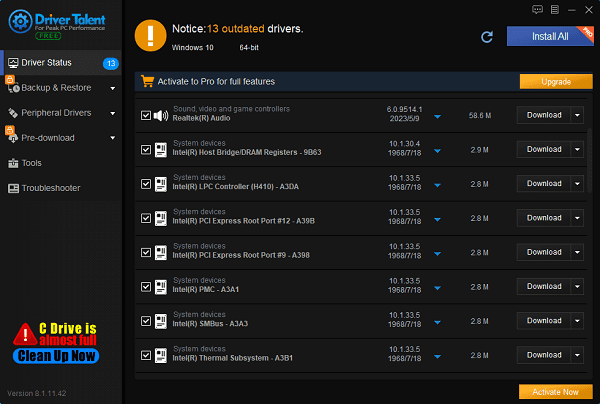
After the update is complete, it is advisable to restart your computer to ensure that the updated drivers work properly.
Solution 3: Reinstall Unifying Software
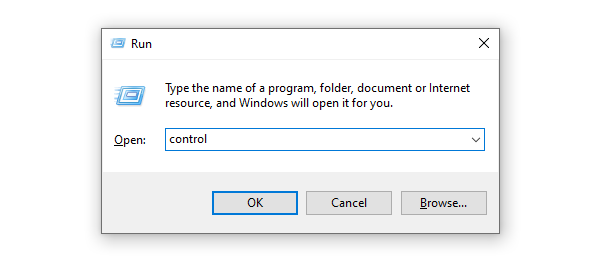
Press Windows key + R, type control, and press Enter to open the Control Panel.
In the Control Panel, select "Programs and Features" or "Uninstall a Program".
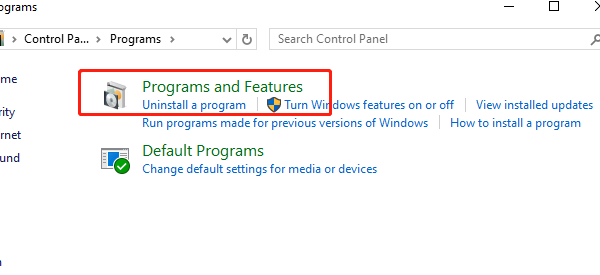
Find the Logitech Unifying Software, right-click on it, and select "Uninstall".
Go to the Logitech Unifying Software page on the Logitech website, download the latest version compatible with your operating system.
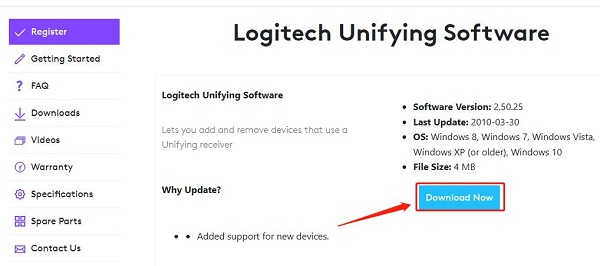
Run the downloaded installer and follow the on-screen instructions to complete the installation.
After installation, restart your computer.
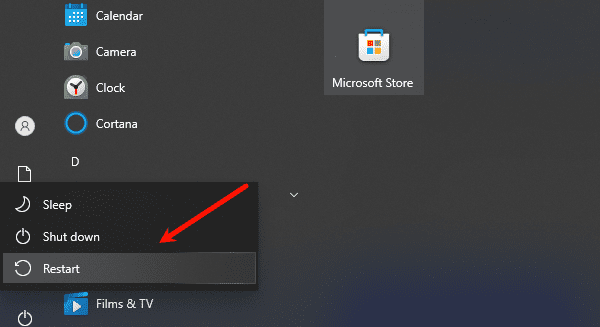
Open the new Unifying Software.
Plug in the Unifying Receiver and follow the software prompts to re-pair your devices.
Solution 4: Check for Device Conflicts
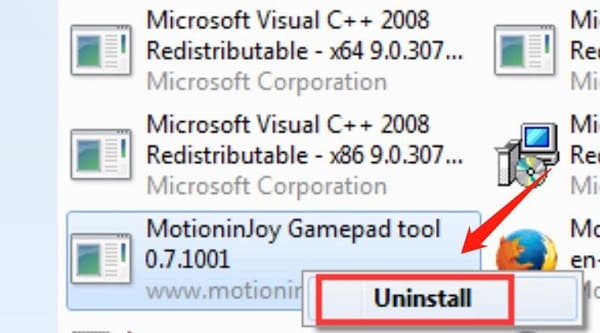
Check if MotionInJoy is installed on your computer, as it is reported to conflict with the Logitech Unifying Receiver.
Press Windows key + R, type control, and press Enter to open the Control Panel.
In the Control Panel, select "Programs and Features" or "Uninstall a Program".
Look for MotionInJoy, right-click on it, and select "Uninstall".
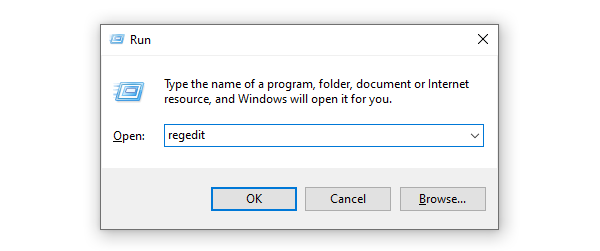
Press Windows key + R, type regedit, and press Enter to open the Registry Editor.
Press Ctrl + F to open the search window, type DS3.
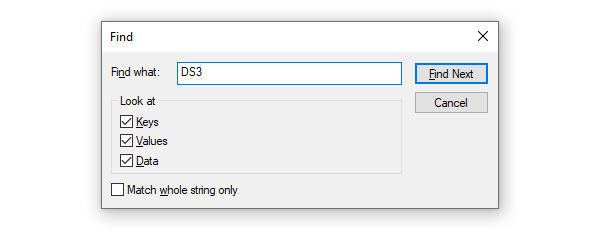
Delete all entries related to DS3, especially the DS3.exe file.
After completing these steps, restart your computer and then plug in the Logitech Unifying Receiver.
Solution 5: Disable Power Management Settings
Press Windows key + X and select "Device Manager".
Expand "Universal Serial Bus controllers". Right-click on each "USB Root Hub", and select "Properties".
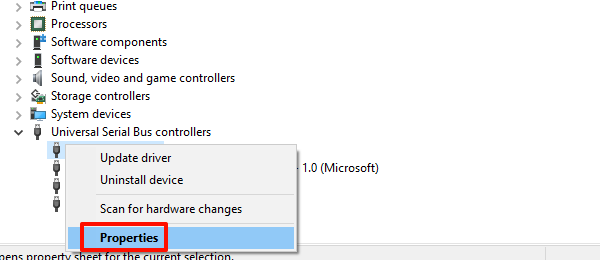
In the "Properties" window, go to the "Power Management" tab and uncheck "Allow the computer to turn off this device to save power".
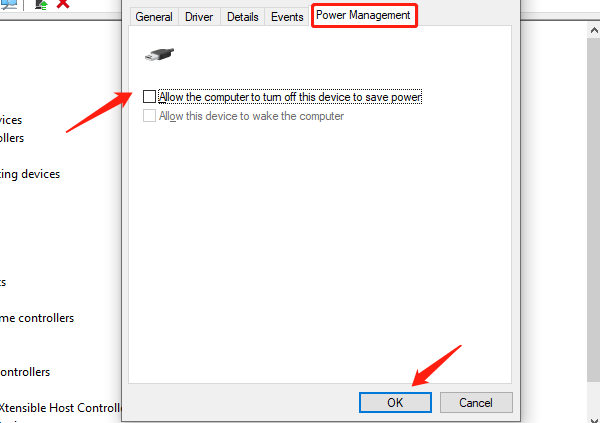
Click "OK" to save the settings.
After completing these steps, restart your computer and then plug in the Logitech Unifying Receiver.
Solution 6: Copy Driver Files
Go to the C:\Windows\inf\ folder and look for usb.PNF and usb.inf files.
If these files are not found on the current computer, copy them from another computer where the USB receiver is working correctly.
Paste the copied usb.PNF and usb.inf files into the C:\Windows\inf\ folder on the current computer.
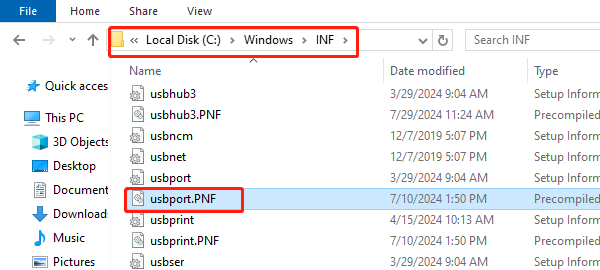
If you cannot obtain the files from another computer, check the C:\Windows\System32 directory for usb.inf and usb.PNF files.
If present, copy and paste them into the C:\Windows\inf\ folder.
After completing these steps, restart your computer and then plug in the Logitech Unifying Receiver.
Solution 7: Perform a Hard Reset
Turn off your computer.
Remove the computer from any port replicator or docking station.
Disconnect all external peripheral devices, such as USB storage devices, external displays, and printers.
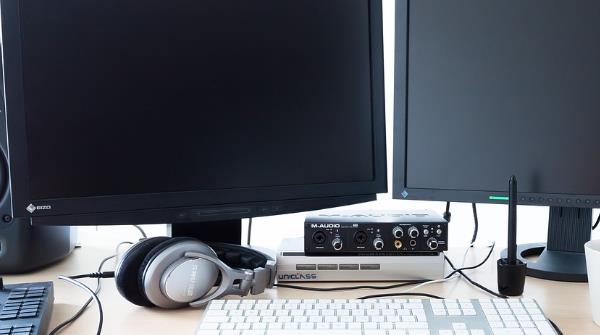
Unplug the power adapter.
If using a laptop, remove the battery from the battery compartment.
Press and hold the power button for about 15 seconds to discharge any residual electrical charge from the capacitors that protect the memory.
Insert the battery and reconnect the power adapter to the laptop, but do not connect any peripheral devices.
Press the power button to turn on the computer.
If a startup menu appears, use the arrow keys to select "Start Windows Normally", and then press Enter.
After reconnecting each peripheral device, run Windows Update to update all device drivers.
By following these methods, you should be able to resolve the issue of Windows 10 not detecting the Logitech Unifying Receiver. Hope these solutions help you restore your device's normal functionality and improve your user experience.
See also:
Six Methods to Check Your Computer's IP Address
Graphics Card Optimization Tips: Practical Methods to Boost Performance
How to Quickly Update Bluetooth Drivers to Enhance Device Compatibility
Learn How to Quickly Update Drivers
How to Update Printer Drivers to Improve Efficiency

|
ExplorerMax |

|
Driver Talent for Network Card | |
| Smart and advanced file explorer tool for Windows platforms | Download & Install Network Drivers without Internet Connection | |||
| 30-day Free Trial | Free Download |


