7 Ways to Fix Unidentified Network on Windows 11
Jul. 01, 2024 / Updated by Seraphina to Windows 10
Encountering an "Unidentified Network" issue on Windows 11 can disrupt your internet connection, affecting your work and entertainment. Here are seven effective methods to troubleshoot and resolve this problem.
Method 1: Restart Your Network Devices
Turn off your computer, router, and modem, and unplug them from the power supply.
Wait for about 10 minutes to ensure all devices are fully powered down and cooled off.
Plug the power back in and sequentially turn on the modem, router, and computer.
Wait for the devices to fully boot up, then check if the network connection is restored.
Method 2: Update Network Drivers
Outdated, corrupt, or incompatible network drivers can cause network issues. It is recommended to use Driver Talent to automatically detect and update your network drivers, saving time and avoiding the risk of downloading or installing the wrong drivers.
Click the download button to get the latest version of Driver Talent. Install and open the software, then click "Scan".
After scanning, the results will show which drivers need updating. Find the network driver in the list and click "Download".
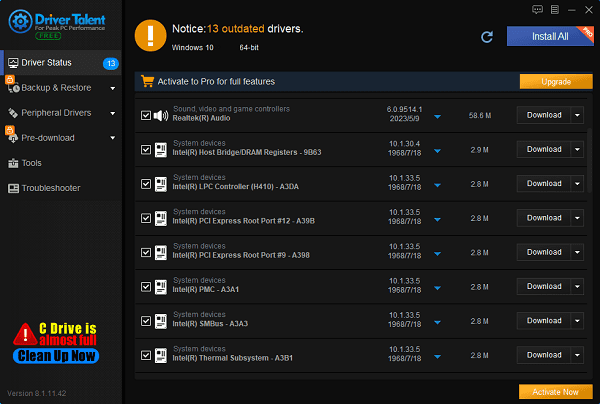
After updating, restart your computer to ensure the new drivers are applied correctly.
Method 3: Forget and Reconnect to the Network
Forgetting and reconnecting to the network can sometimes resolve connection issues.
1). Forget the Network:
Open Windows Settings.
Go to "Network & Internet" > "WiFi".
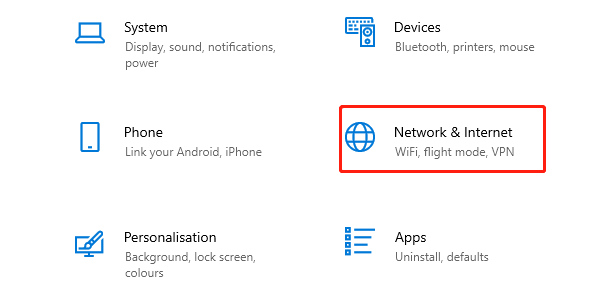
Find your network in the "Known Networks" list, click it, and select "Forget".
2). Reconnect to the Network:
Click the network icon, find your WiFi network, and reconnect by entering the password.
Method 4: Flush DNS and Reset TCP/IP
Flushing the DNS cache and resetting TCP/IP settings can help resolve network connection issues.
1). Flush DNS Cache:
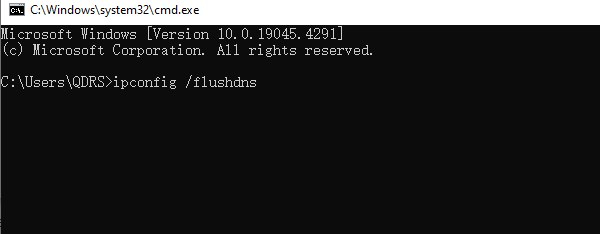
Open Command Prompt with administrative privileges.
Enter the command: ipconfig /flushdns and press Enter.
2). Reset TCP/IP Settings:
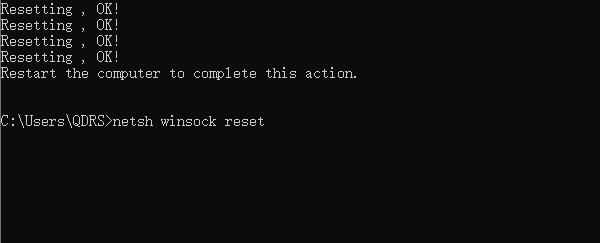
In the same Command Prompt window, enter the following commands and press Enter after each:
netsh int ip reset
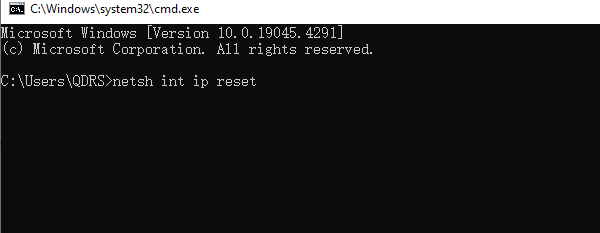
netsh winsock reset
3). Restart Your Computer:
After completing the above steps, restart your computer.
Method 5: Change DNS Server
Changing the DNS server address can sometimes resolve DNS-related connection issues.
1). Open Network Connection Settings:
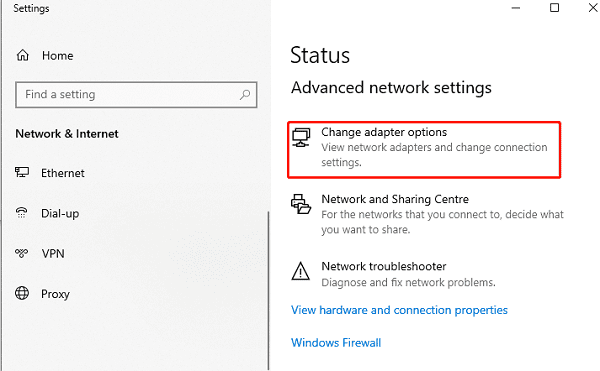
Right-click the network icon in the taskbar and select "Open Network & Internet settings".
2). Change Network Adapter Options:
In the "Change your network settings" section, select "Change adapter options".
3). Modify Network Properties:
Right-click your active network connection and select "Properties".
4). Configure IPv4 Settings:
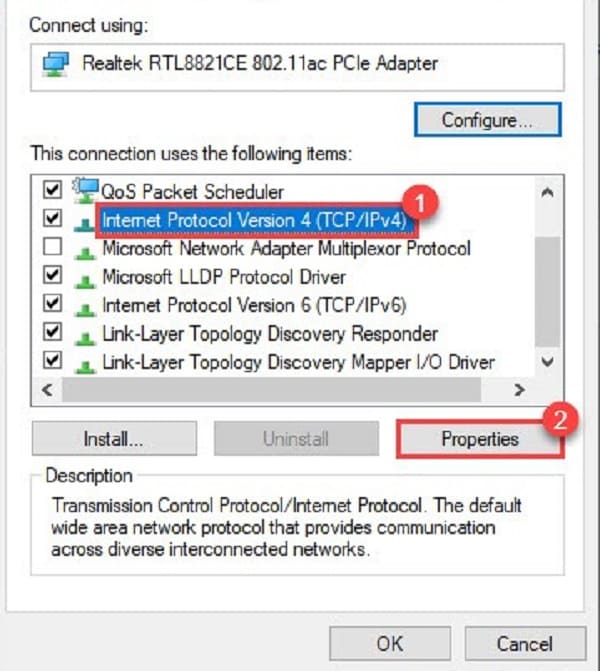
In the popup window, find "Internet Protocol Version 4 (TCP/IPv4)" and click "Properties".
5). Manually Configure DNS Server:
Select "Use the following DNS server addresses".
Enter a public DNS server address (e.g., 8.8.8.8).
Click "OK" to save changes.
6). Reconnect to the Network:
Close all windows and reconnect to your WiFi or Ethernet network.
Method 6: Run Network Troubleshooter
Windows provides a built-in network troubleshooter to help identify and resolve network connection issues.
1). Open Settings:
Open Windows Settings.
2). Select Network Troubleshooter:
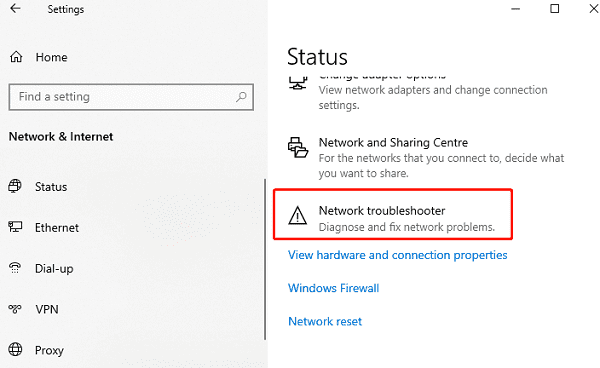
Go to "Network & Internet" > "Status".
In the "Change your network settings" section, select "Network troubleshooter".
3). Follow the Wizard:
Select the network connection you want to diagnose (WiFi or Ethernet) and follow the on-screen instructions.
Method 7: Check Firewall and Security Software
Third-party firewall and security software may block network connections.
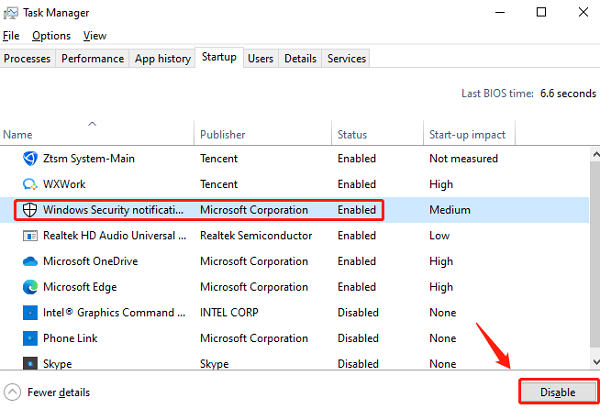
1). Open Task Manager:
Press "Ctrl + Shift + Esc" to open Task Manager.
2). Select the Startup Tab:
In Task Manager, select the "Startup" tab.
3). Disable Firewall:
Find the entry for third-party firewall or security software.
Right-click and select "Disable".
4). Restart Your Computer:
Close Task Manager and restart your computer.
By following these methods, you should be able to resolve the unidentified network issue on Windows 11 and ensure a stable connection. If the problem persists, seek professional support or contact your internet service provider. Hopefully, these solutions help you restore your network and enjoy a stable online experience.
See also:
8 Methods to Fix Computer Freezing Issues
7 Solutions to Fix Continuous Crashing Issues in Palworld
Methods to Update and Reinstall Astro Drivers
How to fix laptop speakers crackling on Windows 11
Top 10 Ways to Fix Kernel32.dll Errors in Windows

|
ExplorerMax |

|
Driver Talent for Network Card | |
| Smart and advanced file explorer tool for Windows platforms | Download & Install Network Drivers without Internet Connection | |||
| 30-day Free Trial | Free Download |


