Some Windows users may encounter the "Machine Check Exception" blue screen error. This article provides steps to resolve the issue and restore normal system operation.
1. Update Device Drivers
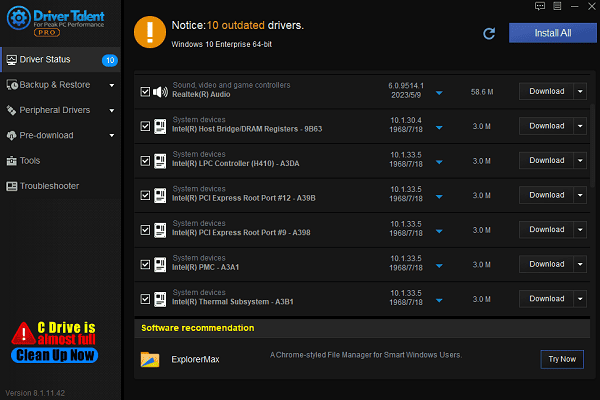
Driver issues are a common cause of the Machine Check Exception error. Outdated or corrupted drivers can lead to hardware incompatibilities, triggering blue screens. We recommend using Driver Talent to automatically detect and update drivers, saving time and avoiding the risk of downloading or installing incorrect drivers.
Download the latest version of Driver Talent, install it, and open the software. Click "Scan".
After the scan, the software will display drivers that need installation or updates. Locate the drivers that require updating in the results list and click the "Download" button.

After updating, restart your computer to ensure the updated drivers are properly applied.
2. Check Hard Drive Health
Press Win + S, type "Command Prompt", and run it as an administrator.
In the Command Prompt, enter the following command to check your hard drive: chkdsk C: /f /r

Replace "C:" with the drive you want to check if necessary.
"/f" fixes disk errors, while "/r" checks for bad sectors and attempts recovery.
The system will prompt you to schedule a disk check on the next restart. Type "Y" and press Enter.
Restart your computer, and the system will automatically check and repair the disk.
3. Run Windows Memory Diagnostic Tool
Press Win + R to open the Run dialog, type "mdsched.exe", and press Enter.
Choose "Restart now and check for problems (recommended)".

The computer will restart and check for memory issues.
After the check is complete, the computer will restart and display the diagnostic results.
4. Run SFC and DISM Tools
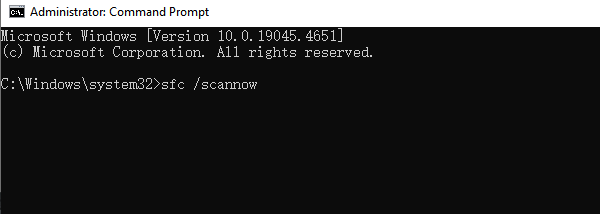
Press Win + S, type "Command Prompt", right-click it, and select "Run as administrator".
Run the System File Checker (SFC) tool by entering the following command: sfc /scannow

This tool scans for and repairs corrupted system files.
If SFC does not resolve the issue, use the Deployment Image Servicing and Management (DISM) tool: DISM /Online /Cleanup-Image /RestoreHealth
After completion, restart your computer.
5. Disable Overclocking
Access the BIOS/UEFI settings by pressing the designated key during startup (commonly F2, but it could also be F1, F10, DEL, or ESC—refer to your motherboard manual for details).
BIOS/UEFI menus vary by manufacturer, but look for options related to overclocking.
Navigate to the "Advanced", "Performance", "Frequency", or "Voltage" menu, and locate overclocking settings.
Reset the overclocking settings to their defaults.
If clearing the overclocking settings doesn't resolve the issue, try resetting the entire BIOS. Locate the reset option in the BIOS menu and restore the default settings.
6. Use System Restore
Press Win + R to open the Run dialog, type "rstrui", and press Enter.
In the "System Restore" window, choose a restore point created before the issue occurred.
Click "Next" and follow the instructions to complete the restoration.
Your computer will revert to the selected restore point, and you can check if the blue screen issue is resolved.
By following the steps above, you can effectively fix the Machine Check Exception blue screen error. If the problem persists, contact technical support to check for hardware issues.
See also:
Fix Windows Update Error 0x80070057
Effective Fix for Windows Msvcr120.dll Missing Error
How to Fix Windows 10 Wireless Mouse Not Working


