How to Fix Logitech Mic Not Working
Nov. 12, 2024 / Updated by Seraphina to Windows 10

Users may face issues with their Logitech microphone, affecting work and entertainment. This article offers solutions to quickly resolve these problems.
1. Check Hardware Connections
If using a wired microphone, ensure it's properly plugged into the computer's audio input port (usually the pink port) or the correct USB port (if it's a USB microphone).
For wireless microphones, make sure the receiver is properly connected to the computer and that the microphone's battery is sufficiently charged.
Check for any damage or looseness in the microphone cable. If using a USB microphone, try switching USB ports or testing the microphone on a different computer.
2. Update Audio Drivers
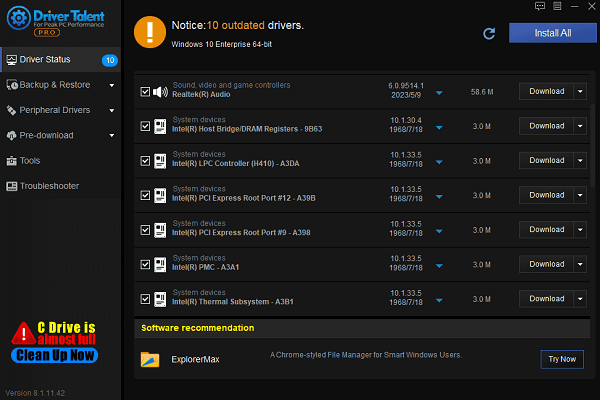
Audio drivers are essential for device functionality. If drivers are outdated or damaged, the microphone may not work properly. Updating drivers often solves this issue. It's recommended to use Driver Talent to automatically detect and update drivers, saving time and preventing incorrect driver installations.
Download and install the latest version of Driver Talent, then open it and click "Scan".
After scanning, find audio drivers in the list and click "Download".

After updating, restart your computer to ensure the new drivers are fully functional.
3. Check Microphone Settings
Right-click the volume icon in the taskbar and select "Sound settings".
In the "Input" section, ensure the correct microphone is selected. If you have multiple audio input devices, make sure to select the one you're currently using.
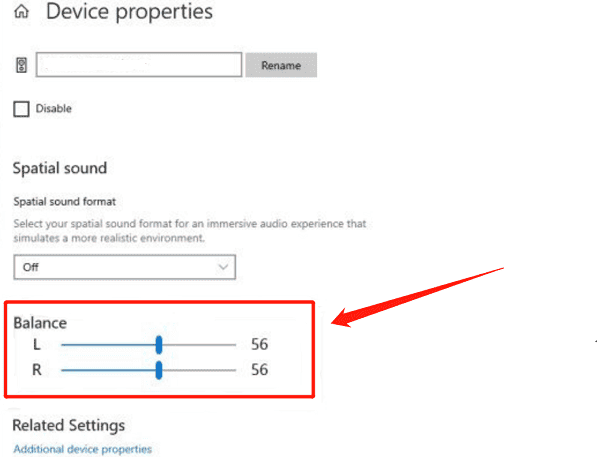
In "Sound settings", click "Device properties" next to the selected microphone. Check that the microphone volume is set to an adequate level and adjust it to ensure clear audio.

In the "Device properties" page, you can adjust microphone sensitivity. Ensure it's not set too low, as this might prevent the microphone from detecting sound.
In the "Input" section, click "Start test" to confirm the microphone is detecting sound. If there's no response, try other troubleshooting steps.
4. Check Windows Privacy Settings
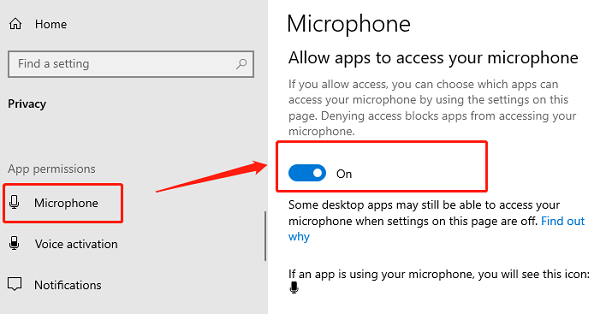
Go to "Settings" > "Privacy" > "Microphone".
Under "Allow apps to access your microphone", make sure this option is enabled.

In the "App access to microphone" section, review the listed applications and make sure any apps needing microphone access are enabled.
Ensure that "Allow desktop apps" includes permission for relevant desktop applications, especially if you're using apps like Skype or Discord.
5. Configure Audio Settings
Disable Audio Enhancements:
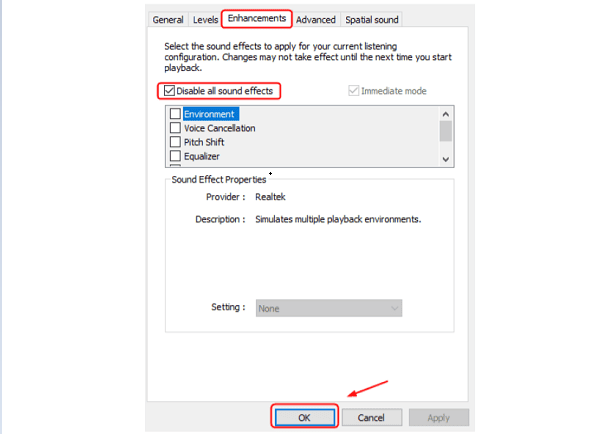
In "Sound settings", click "Device properties" for the input device, then select the "Enhancements" tab.
Disable microphone enhancements (like noise suppression and echo cancellation) to see if they improve microphone performance.

Set as Default Device:
Open "Control Panel" > "Hardware and Sound" > "Sound".
In the "Recording" tab, confirm that the microphone is set as the "Default Device". If not, right-click it and select "Set as Default Device".
6. Close Other Applications Using the Microphone
Press "Ctrl + Shift + Esc" to open Task Manager.
In the "Processes" tab, check if any other applications are using the microphone (e.g., video conferencing or voice chat apps). If so, right-click and select "End Task".
7. Check for Microphone Hardware Issues
Connect the microphone to another computer or device (such as a phone or tablet) to test if it works. If it doesn't work on other devices, the microphone itself may have an issue.
If the microphone doesn't function on multiple devices, consider replacing it.
These steps should fix most microphone issues. If the problem continues, contact technical support or consider replacing the hardware.
See also:
How to Fix BIOS Update Failures
4 Quick Ways to Check Your Computer's Graphics Card Information
6 Methods to Fix a Non-Working Wireless Mouse
6 Methods to Fix Windows 11 Blue Screen

|
ExplorerMax |

|
Driver Talent for Network Card | |
| Smart and advanced file explorer tool for Windows platforms | Download & Install Network Drivers without Internet Connection | |||
| 30-day Free Trial | Free Download |


