Ryzen Master is crucial for optimizing Ryzen processors, but the Driver Not Installed Properly error can disrupt this. Here are 6 effective solutions to fix it and use Ryzen Master smoothly.
Method 1: Check and Repair Drivers
Outdated, corrupted, or incompatible drivers can cause computer issues. It is recommended to use Driver Talent to automatically detect and update drivers, saving time and avoiding the risk of downloading or installing incorrect drivers.
Click the download button to get the latest version of Driver Talent. After installation, open the software and click "Scan".
After the scan is complete, it will show which drivers are missing or need updating. Find the drivers that need updating in the results list and click the "Download" button.
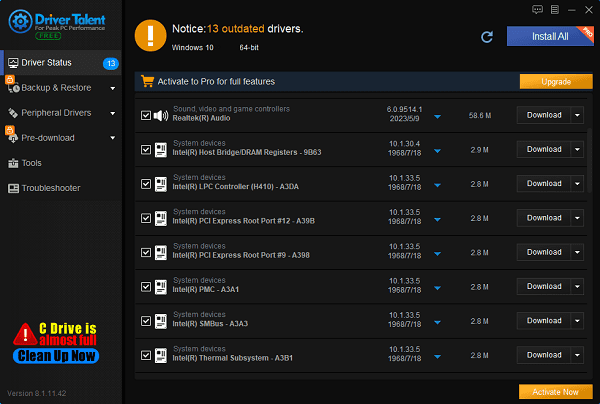
After updating, it is recommended to restart your computer to ensure the updated drivers take effect.
Method 2: Uninstall and Reinstall Ryzen Master
Step 1: Uninstall Ryzen Master
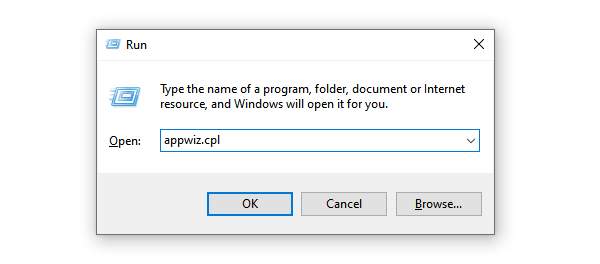
Press Win + R to open the Run dialog box.
Type appwiz.cpl and press Enter to open the Programs and Features window.
Find "AMD Ryzen Master" in the list, right-click it, and select "Uninstall/Change".
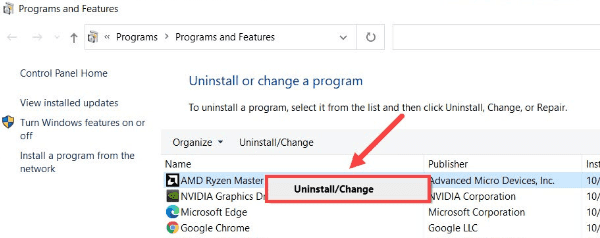
Follow the on-screen instructions to complete the uninstallation process.
Step 2: Clean Up Residual Files
Open File Explorer and navigate to the C:\Program Files (x86) and C:\Program Files folders.
Check and delete any files or folders related to AMD Ryzen Master.
Open the Registry Editor (press Win + R, type regedit, and press Enter).
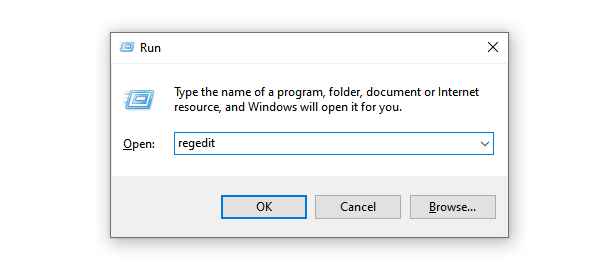
Navigate to HKEY_LOCAL_MACHINE\SOFTWARE\AMD and delete any entries related to Ryzen Master.
Step 3: Reinstall Ryzen Master
Go to the AMD official support page and download the latest version of the Ryzen Master installer.
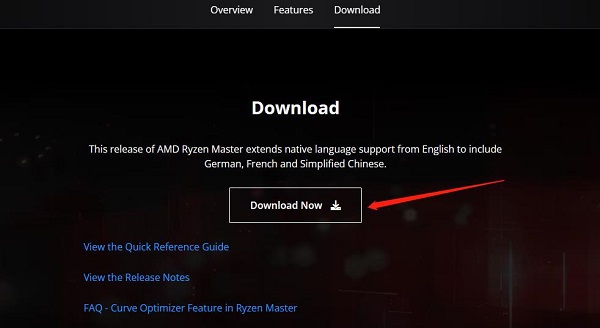
Run the downloaded installer and follow the on-screen instructions to complete the installation.
After installation, restart your computer to ensure all changes take effect.
Method 3: Update Motherboard Chipset Drivers
Step 1: Identify Your Motherboard Model
Press Win + R to open the Run dialog box.
Type msinfo32 and press Enter to open the System Information window.
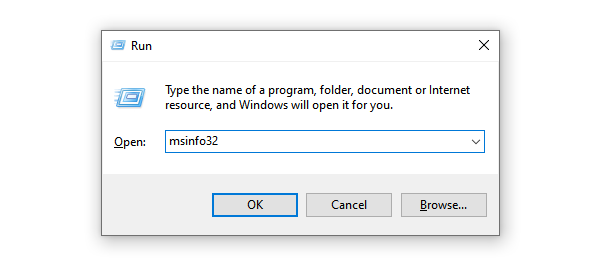
In the System Information window, find the motherboard manufacturer and model.
Step 2: Download the Latest Chipset Drivers
Go to the motherboard manufacturer's official website.
On the support page, enter your motherboard model and find the driver downloads.
Download the latest chipset drivers.
Step 3: Install the Chipset Drivers
Run the downloaded chipset driver installer.
Follow the on-screen instructions to complete the installation.
After installation, restart your computer to ensure all changes take effect.
Method 4: Modify the Registry
Step 1: Open the Registry Editor
Press Win + R to open the Run dialog box.
Type regedit and press Enter to open the Registry Editor.
Step 2: Navigate to the Target Key
In the Registry Editor, navigate to the following path:
HKEY_LOCAL_MACHINE\SYSTEM\ControlSet001\Services\AMDRyzenMasterDriver

In the right pane, find and double-click ImagePath.
Step 3: Modify the ImagePath Value
In the "Value data" section, delete the \??\ prefix, leaving only the path part, for example:
Change from \??\C:\Program Files\AMD\RyzenMaster\bin\AMDRyzenMasterDriver.sys
To C:\Program Files\AMD\RyzenMaster\bin\AMDRyzenMasterDriver.sys
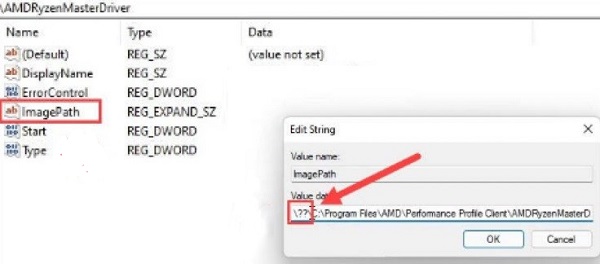
Click "OK" to save the changes.
Close the Registry Editor and restart your computer.
Method 5: Perform a Clean Boot
Step 1: Configure the System Configuration Utility
Press Win + R to open the Run dialog box.
Type msconfig and press Enter to open the System Configuration Utility.
In the "Services" tab, check "Hide all Microsoft services".
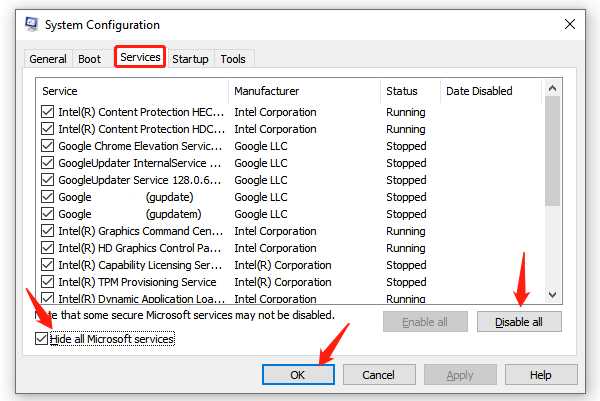
Click "Disable all" and then enable only the services of hardware manufacturers, such as Realtek, AMD, NVIDIA, Logitech, and Intel.
Step 2: Configure Startup Items
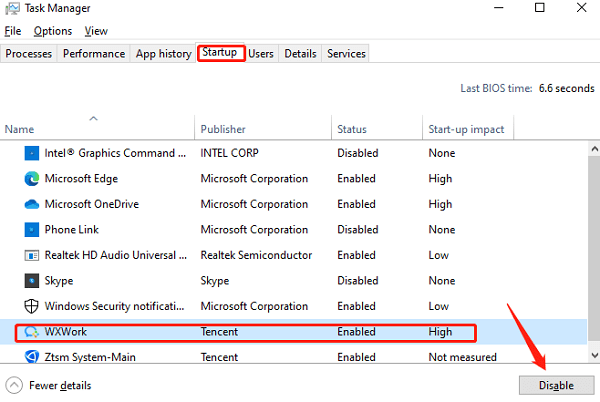
Press Ctrl + Shift + Esc to open Task Manager.
Navigate to the "Startup" tab.
Disable all non-essential startup items.
Step 3: Restart Your Computer
Close all windows and restart your computer.
Check if Ryzen Master runs correctly.
If the issue is resolved, gradually enable services and startup items to identify the conflicting program.
Method 6: Check Windows Updates
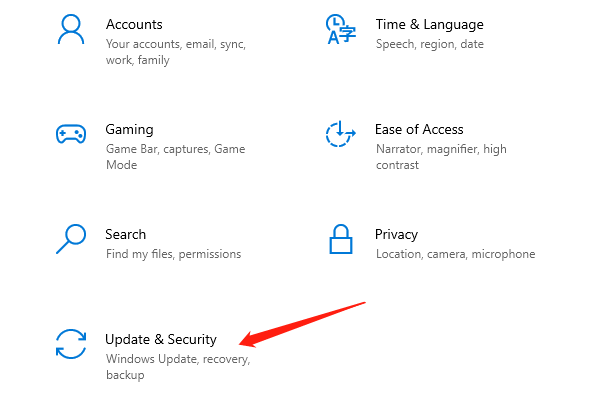
Press Win + I to open the Settings app.
Select "Update & Security".
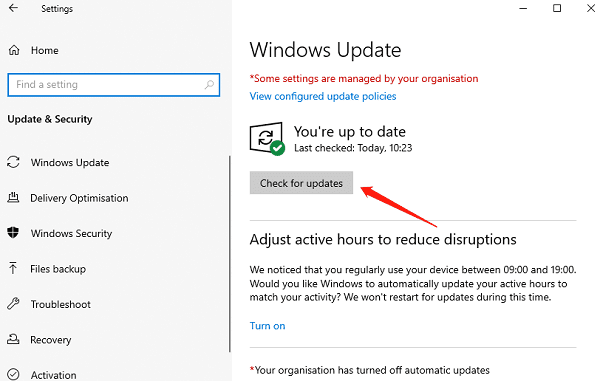
In the "Windows Update" tab, click "Check for updates". The system will scan and download any available updates. If updates are available, the system will automatically download and install them.
After installation, restart your computer as prompted.
After restarting, open Ryzen Master and check if the issue is resolved.
By following these 6 methods, you should be able to fix the Ryzen Master driver not installed properly issue and regain full control of your processor. These solutions will help you use Ryzen Master smoothly and maximize your Ryzen processor's performance potential.
See also:
Six Ways to Open Windows 11 Task Manager
Solution to system crash after graphics card driver upgrade
How to Check and increase network speed in a computer


