To properly use your Canon scanner, it's crucial to install and update the drivers correctly. If you need to download Canon scanner drivers for Windows operating systems, here's a detailed guide on how to do it.
Method 1: Using Driver Management Tool for Download
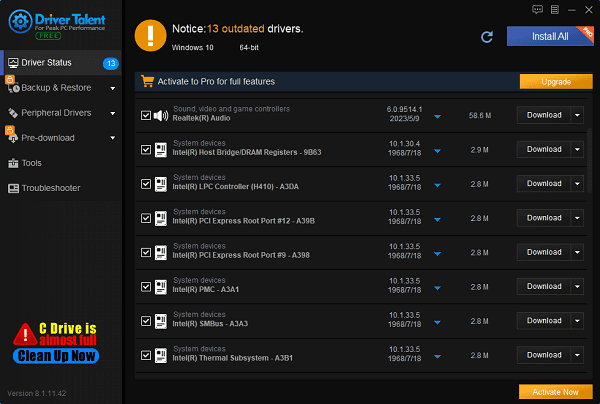
If you don't have time or patience to manually download and install Canon scanner drivers, we recommend using Driver Talent to automatically detect and update your computer drivers, saving time and avoiding the risk of downloading or installing incorrect drivers.
Click the download button to get the latest version of Driver Talent. Once installed, open the software and click "Scan".
After the scan completes, it will show which drivers are not installed or need updates. Click the "Download" button.

After the update completes, it's recommended to restart your computer to ensure the updated drivers take effect.
Method 2: Downloading from Official Website
1). Preparation:
Before downloading drivers, first identify your scanner model and computer operating system.
2). Visit the official website:
Open your browser and navigate to the Canon official website.
Locate the Support page.

3). Search for scanner model:
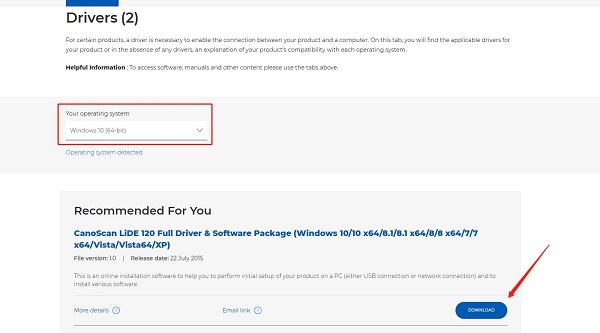
In the search bar on the Support page, enter your scanner model (e.g., CanoScan LiDE 120).

4). Download the driver:
On the scanner's support page, select your computer's operating system (like Windows 10, Windows 11) and its version (32-bit or 64-bit), then click the "Download" button.

5). Install the driver:
Once downloaded, double-click the installation program and follow the prompts to complete the installation process.
Method 3: Updating via Device Manager
1). Connect the scanner:
Ensure your Canon scanner is connected to your Windows computer and powered on.
2). Open Device Manager:
Press Windows key + R on your keyboard to open the "Run" dialog.
Type devmgmt.msc and press Enter to open Device Manager.
3). Locate the scanner:
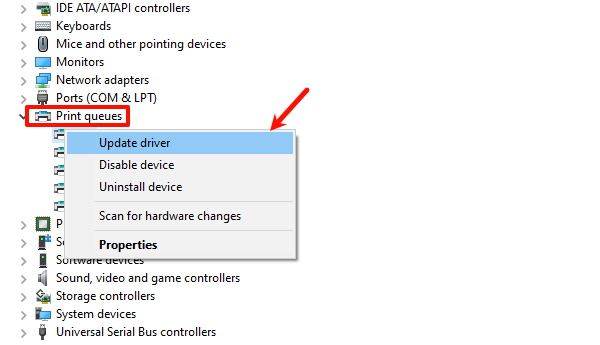
In Device Manager, find and expand "Printers" or "Print queues " category.
Under this category, locate your Canon scanner, usually displayed by its model name or as an "Unknown device".
4). Update the driver:
Right-click on your Canon scanner and select "Update driver" option.

5). Choose update method:
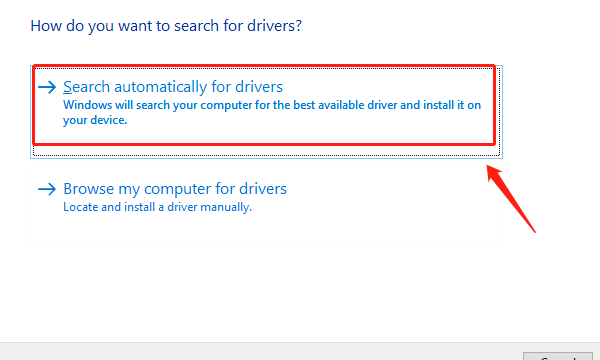
In the pop-up dialog, select "Search automatically for drivers".

6). Wait for the update:
Let the system automatically search and update to the latest Canon scanner driver. This may take some time depending on your network speed and driver size.
7). Restart your computer:
After the update completes, it's advisable to restart your computer to ensure the driver update takes effect properly.
Following these steps should enable you to successfully download and install Canon scanner drivers for Windows. Always ensure you're using the latest drivers for optimal scanning experience and device performance. We hope these guidelines help you manage and update your Canon scanner drivers effortlessly.
See also:
How to Update the Insignia Bluetooth Adapter Driver
Four Methods to Resolve Radeon Software and Driver Version Mismatch
How to Resolve Audio Popping or Crackling Sound in Windows


