Properly installing and updating Canon printer drivers in Windows is essential for correct printer operation. This guide offers detailed steps to help you configure Canon printer drivers on your Windows system.
Way 1: Update with a Driver Management Tool
Outdated, damaged, or incompatible printer drivers can cause the device to malfunction or experience printing issues. It is recommended to use Driver Talent to automatically detect and update drivers, saving time and effort while avoiding the risk of downloading or installing the wrong driver.
Click the download button to get the latest version of Driver Talent. After installation, open the software and click "Scan".
After the scan is complete, a list of drivers that need to be installed or updated will be displayed. Find the printer driver in the results list and click the "Download" button.
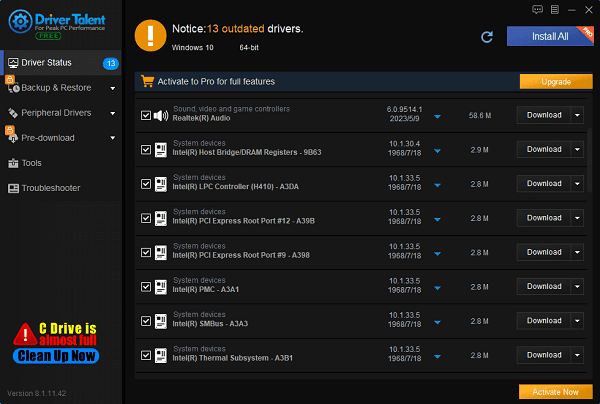
After the update is complete, it is recommended to restart your computer to ensure that the updated driver is fully effective.
Way 2: Download from the Official Website
Open your browser and visit the Canon support website.

In the search bar, enter your printer model (e.g., PIXMA MX920). Find and select the page matching your printer model.
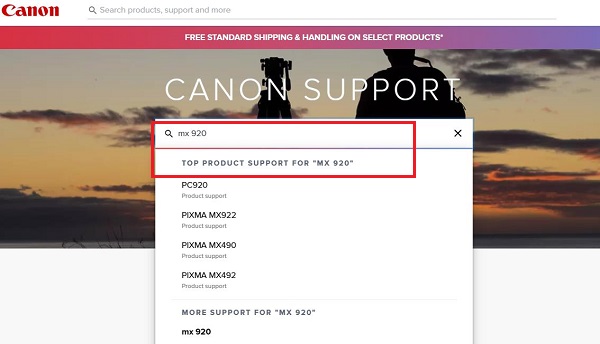
Select your Windows operating system version, locate the latest driver version, and click the "Download" button to save the installation file to your computer.
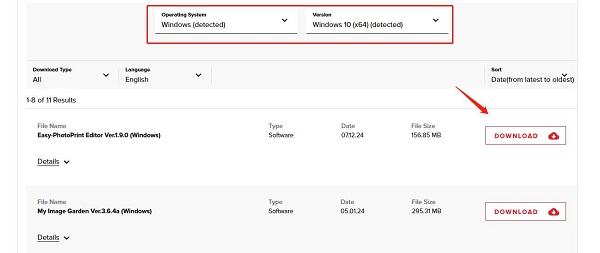
After the download is complete, open the installation file and follow the on-screen instructions to install it. You may need to restart your computer during the installation process to apply the changes.
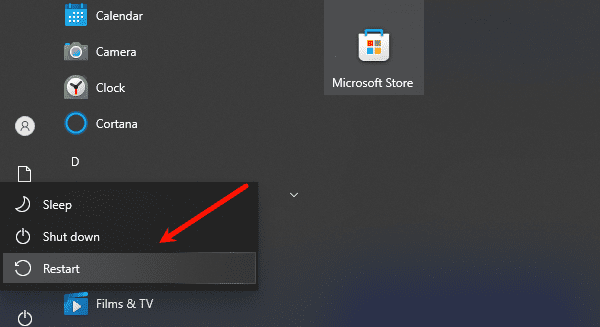
After installation, connect your Canon printer and try printing a test page to ensure the driver is correctly installed and functioning.
Way 3: Update via Device Manager
Press the Windows + X keys, then select and open Device Manager.
In Device Manager, expand the "Print queues" or "Devices" option and locate your Canon printer.
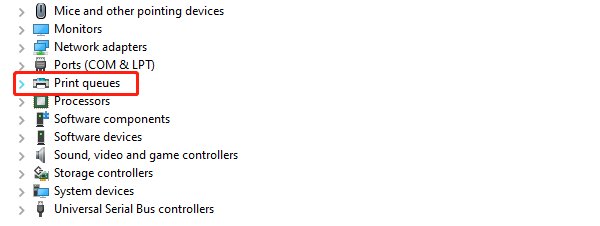
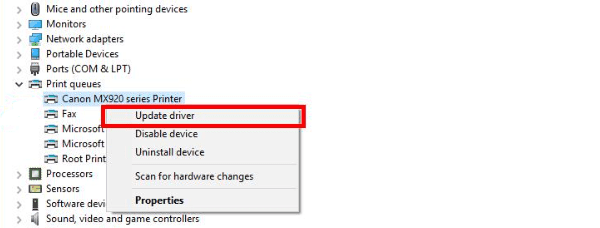
Right-click the printer, then select "Update driver".
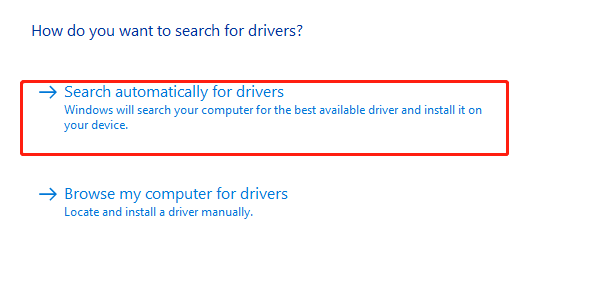
Select "Search automatically for drivers", and the system will automatically search for and install the latest driver.
Steps to Connect Canon Printer to WiFi
Step 1: Find the wireless settings option on the printer's control panel.
Step 2: Scan and select the WiFi network you want to connect to, enter the password, and confirm the connection.
Step 3: After a successful connection, you can try printing a test page from your computer or mobile device to ensure the printer is correctly connected to WiFi.
This guide can help you install the Canon printer driver for Windows. If you encounter issues or the printer still doesn't work, consider contacting Canon's support. Hope this guide helps you set up your printer smoothly and efficiently.
See also:
NVIDIA VS AMD: Which Graphics Card is Right for You
How to Enhance Network Connection Stability Using Network Cards
How to Fix Missing Icons on Computer Desktop


