Nine Simple Methods to Fix WiFi Connected But No Internet
May. 10, 2024 / Updated by Seraphina to Windows 11

When using a Windows 11 computer, users may encounter the issue where the WiFi shows connected but unable to access the Internet. On their computer screen, they may see one of the following messages: "WiFi connected but no internet", "WiFi has no Internet Access", "No internet connection", or "Connected, no internet access". There could be many factors causing the inability to connect to the Internet in Windows 11. This article will introduce 9 simple methods to solve the WiFi connected but no internet issue in Windows 11.
Method 1: Check WiFi Connection
Firstly, ensure that your device is correctly connected to the wireless network. Check the WiFi connection status in your computer's settings to ensure that you have successfully connected to the correct network and that the signal strength is good. If not connected, re-enter the correct password to establish the connection.

Method 2: Restart the PC and WiFi Router/Modem
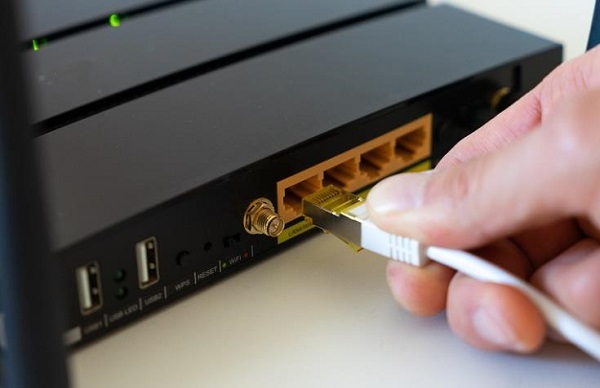
In Windows 11, the issue of WiFi connected but no internet may be caused by unexpected errors in your computer or the WiFi router/modem. Disconnect the power, wait a few seconds, then reconnect. Try restarting your computer and then reset the WiFi router/modem to see if it resolves the issue. If this method doesn't work, try the next solution.
Method 3: Update Network Driver
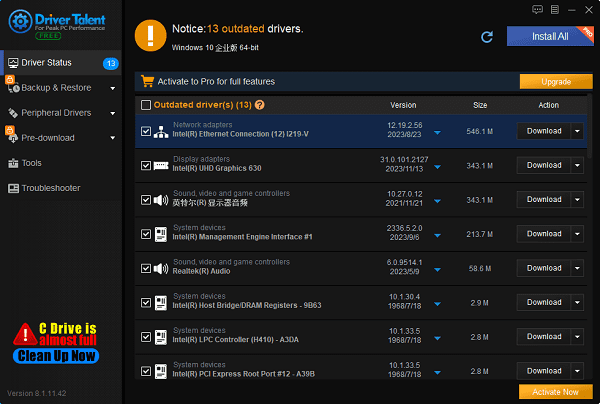
When the network driver is corrupted or outdated, computers may experience network issues. Therefore, it is important to update the network driver. We recommend using Driver Talent to update network drivers or other drivers (such as display drivers, audio drivers, Bluetooth drivers, etc.). Driver Talent is a professional driver update software that can detect, download, and install the latest drivers, fixing driver-related issues.
Method 4: Run the Network Troubleshooter
Windows' built-in troubleshooter can detect and automatically fix some common problems, so make good use of it. The steps to run the network troubleshooter are as follows:
Type "network troubleshooter" in the Windows search box.
Click on "Find and fix network problems", then select "Next".
After the troubleshooting process is completed, restart your computer.
Method 5: Reset Network Adapter and DNS
Sometimes you need to reset your network adapter and DNS to solve the "Connected but no internet access" issue in Windows 11. The reset steps are as follows:
Type "cmd" in the Windows search box and select "Command Prompt" from the search results.
Run as administrator.
Enter the command "netsh winsock reset", then press Enter.
Enter the command "ipconfig /release", then press Enter.
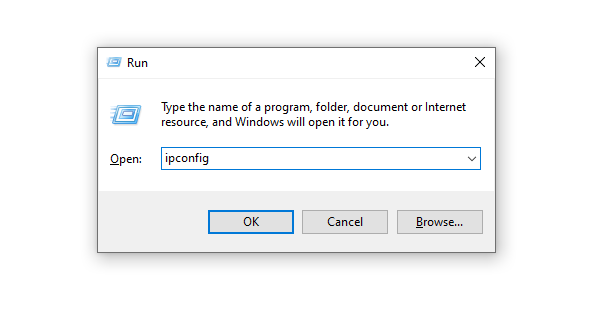
Enter the command "netsh int ip reset", then press Enter.
Enter the command "ipconfig /flushdns", then press Enter.
Enter the command "ipconfig /renew", then press Enter.
After the last command is executed, restart your computer.
Check if the issue of WiFi connected but no internet is resolved.
Method 6: Reset Network Settings
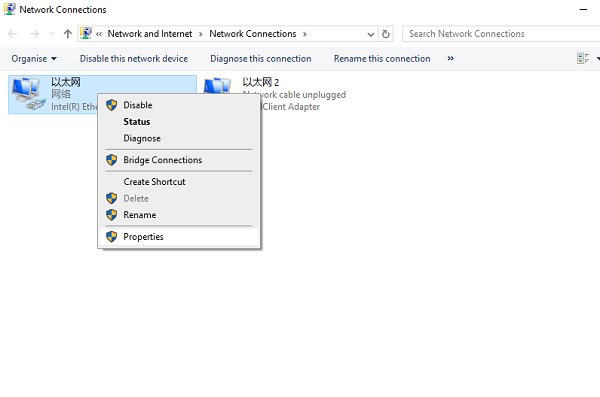
In the Windows system, open "Control Panel", select "Network and Internet", click "Network and Sharing Center", select "Change adapter settings", right-click on your network connection, select "Properties", then click the "Reset" button to reset network settings. This will clear all network settings and restore them to default values, which may solve some network connection issues.
Method 7: Disable MAC Address Filtering
MAC address (Media Access Control address) is a unique identifier that can assist routers in allowing or blocking access to content on the internet. In some cases, it may prevent you from accessing certain content on the internet. Therefore, you can try disabling MAC address filtering to see if it resolves the issue of inability to access the internet in Windows 11.
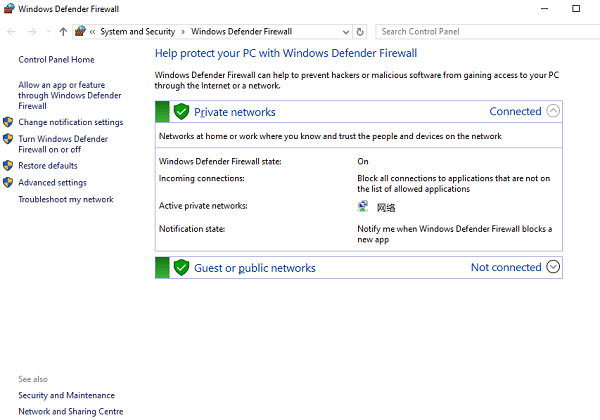
Method 8: Check Firewall Settings
Firewalls may sometimes block devices from connecting to the Internet, so check if firewall settings allow your device to access the Internet. In the Windows system, open "Control Panel", select "Windows Defender Firewall", and ensure that firewall settings do not block your device from accessing the Internet.
Method 9: Check for Windows Updates
If none of the above solutions work, you may need to update Windows. The latest Windows updates usually come with fixes for some known issues and bugs. Therefore, checking for Windows updates is one of the most commonly applied methods to solve computer issues. Follow these steps to update your system:
Press Windows + I on your keyboard to open "Settings".
Click on "Windows Update".
Find "Check For Updates" and click on it.
Windows will start checking for updates. If a new version is available, it will install it for you. When this process is completed, restart your computer and check if the issue of WiFi connected but no internet is resolved.
These are the 9 simple methods to solve the issue of WiFi connected but no internet. If you encounter driver-related issues such as network card, graphics card, Bluetooth, sound card, etc., you can download "Driver Talent" to detect and fix them. Driver Talent supports driver download, installation, and backup, providing flexible driver installation options.
See also:
Senua's Saga: Hellblade II Game Configuration Introduction
Introduction: Computer NPU, CPU, and GPU
Driver Introduction and Tutorial for Updating Motherboard Drivers
How do I setup my sound driver and troubleshoot audio driver issues

|
ExplorerMax |

|
Driver Talent for Network Card | |
| Smart and advanced file explorer tool for Windows platforms | Download & Install Network Drivers without Internet Connection | |||
| 30-day Free Trial | Free Download |


